This content was written by
LessEverything.com
to help others make informed decisions about building a backyard shed office.
Just to reiterate, your wall structures are made up of 2’x4’ or 2’x6’ wall studs, then OSB sheets that are wrapped in a plastic “house wrap.” You could use Styrofoam sheets on top of the plastic for additional insulation but that’s not standard for a little workshop or office. So on top of the plastic wrap you put some sort of additional layer of weather proofing.
Options for this exterior finish include wooden sheet composite board, vinyl or aluminum siding, brick, metal sheeting and tile--there are tons of options. I chose vinyl siding so our workshop would match the house. Design wise it’s not my favorite but for our situation it’s best for resell.
Putting up vinyl siding kind of sucks because you typically trim out doors and things with metal trim. To bend the metal trim for your door and windows you’ll have to rent a “metal break,” which was $80 per day. Honestly, if you go with a wooden siding product you’ll probably have an easier time.
Insulation makes your house more efficient to heat and cool. Insulation is installed in the walls, the ceiling, and between the rafters. Insulation is sold by a unit measurement called “R-rating.” The higher the R-rating the better--I did R-30 in the ceiling, R-18 in the walls. Insulation is sold mostly in 8-foot rolls with a width of 16 inches, because that’s the space between your wall studs. I did find that within each “bag” of insulation there’s one roll that has perforated tear lines so you can squeeze it into smaller spaces.
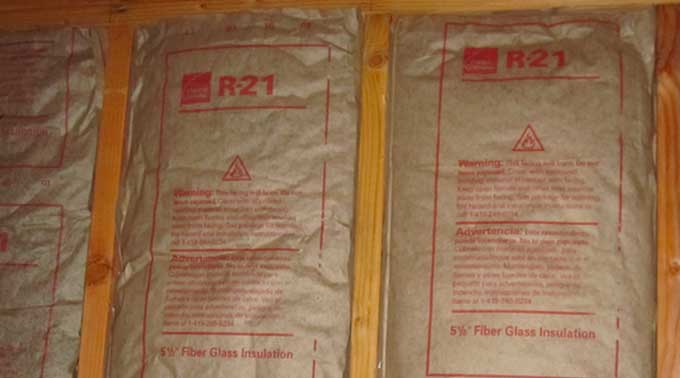
You might also consider spraying closed cell foam. Spray foam, from what I’ve read, is better than traditional fiberglass insulation but more costly. The “better” the insulation the less costly it will be to heat and cool the building. Spray foam would have cost me an additional $350 if I used a DIY spray foam kit.
Insulation rolls are simple to install, and the fiberglass didn’t make me itch, so I must be super-human or something. You put the roll in between the wall studs and staple the paper tabs to the wall studs to hold the roll in place.
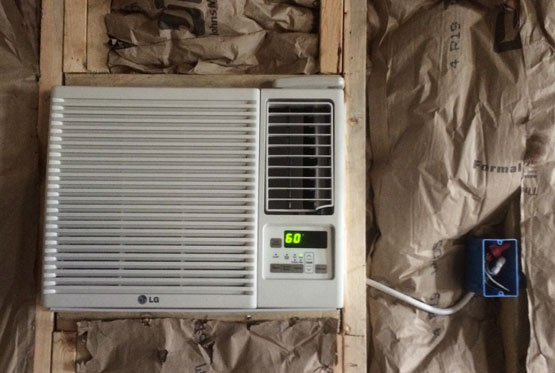
To get electricity to my building we had to run a line from our house. I have a friend who is an electrician so he installed the electrical, but I trenched the 200+ feet to get the power to the building by hand (MAN GRUNT). Our code for underground electrical is 18” below grade. I needed enough power to run my stick welder (220v), a few lights and a small window AC unit.
I had 12 electrical plugs installed on each wall, which might seem excessive. The cost of “going overboard” with plugs is hardly anything because it’s cheap to add in electrical before the drywall is installed. I had a quad plug outlet put every 4 feet along the wall. I also installed a ceiling fan and 3 recessed lights, 2 pendant lights where the ceiling is 11 feet high, 2 outdoor floodlights and 2 outdoor electrical plugs.
Something to consider when you choose your building’s location is that copper wire is expensive. It was $280 just in wire to get the power out to the building. Think of each foot at $1.25, so you can save yourself money by building closer. But my thought would be if you have an ideal spot, don’t worry about the cost of the additional wire. I did get lucky with electrical because my house had available electrical breakers to hook into. The electrical seemed like something a professional should handle or rather, something Allan would easily mess up.